//Passing FileInputStream objectas a parameter FileInputStream inputstream = new FileInputStream("C:\\images\\image.jpg"); Image image = new Image(inputstream); //Loading image from URL //Image image = new Image(new FileInputStream("url for the image));
publicclassImageExampleextendsApplication { @Override publicvoidstart(Stage stage)throws FileNotFoundException { //Creating an image Imageimage=newImage(newFileInputStream("path of the image")); //Setting the image view ImageViewimageView=newImageView(image); //Setting the position of the image imageView.setX(50); imageView.setY(25); //setting the fit height and width of the image view imageView.setFitHeight(455); imageView.setFitWidth(500); //Setting the preserve ratio of the image view imageView.setPreserveRatio(true); //Creating a Group object Grouproot=newGroup(imageView); //Creating a scene object Scenescene=newScene(root, 600, 500); //Setting title to the Stage stage.setTitle("Loading an image"); //Adding scene to the stage stage.setScene(scene); //Displaying the contents of the stage stage.show(); } publicstaticvoidmain(String args[]) { launch(args); } }
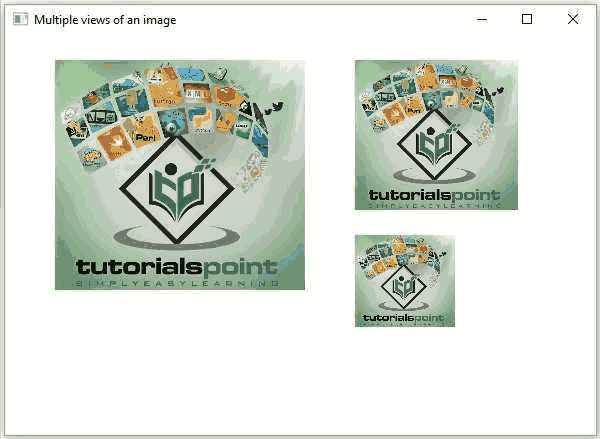
publicclassMultipleViewsextendsApplication { @Override publicvoidstart(Stage stage)throws FileNotFoundException { //Creating an image Imageimage=newImage(newFileInputStream("file path")); //Setting the image view 1 ImageViewimageView1=newImageView(image); //Setting the position of the image imageView1.setX(50); imageView1.setY(25); //setting the fit height and width of the image view imageView1.setFitHeight(300); imageView1.setFitWidth(250); //Setting the preserve ratio of the image view imageView1.setPreserveRatio(true); //Setting the image view 2 ImageViewimageView2=newImageView(image); //Setting the position of the image imageView2.setX(350); imageView2.setY(25); //setting the fit height and width of the image view imageView2.setFitHeight(150); imageView2.setFitWidth(250); //Setting the preserve ratio of the image view imageView2.setPreserveRatio(true); //Setting the image view 3 ImageViewimageView3=newImageView(image); //Setting the position of the image imageView3.setX(350); imageView3.setY(200); //setting the fit height and width of the image view imageView3.setFitHeight(100); imageView3.setFitWidth(100); //Setting the preserve ratio of the image view imageView3.setPreserveRatio(true); //Creating a Group object Grouproot=newGroup(imageView1, imageView2, imageView3); //Creating a scene object Scenescene=newScene(root, 600, 400); //Setting title to the Stage stage.setTitle("Multiple views of an image"); //Adding scene to the stage stage.setScene(scene); //Displaying the contents of the stage stage.show(); } publicstaticvoidmain(String args[]) { launch(args); } }
publicclassWritingPixelsExampleextendsApplication { @Override publicvoidstart(Stage stage)throws FileNotFoundException { //Creating an image Imageimage=newImage(newFileInputStream("C:\\images\\logo.jpg")); intwidth= (int)image.getWidth(); intheight= (int)image.getHeight(); //Creating a writable image WritableImagewImage=newWritableImage(width, height); //Reading color from the loaded image PixelReaderpixelReader= image.getPixelReader(); //getting the pixel writer PixelWriterwriter= wImage.getPixelWriter(); //Reading the color of the image for(inty=0; y < height; y++) { for(intx=0; x < width; x++) { //Retrieving the color of the pixel of the loaded image Colorcolor= pixelReader.getColor(x, y); //Setting the color to the writable image writer.setColor(x, y, color.darker()); } } //Setting the view for the writable image ImageViewimageView=newImageView(wImage); //Creating a Group object Grouproot=newGroup(imageView); //Creating a scene object Scenescene=newScene(root, 600, 500); //Setting title to the Stage stage.setTitle("Writing pixels "); //Adding scene to the stage stage.setScene(scene); //Displaying the contents of the stage stage.show(); } publicstaticvoidmain(String args[]) { launch(args); } }