$ git clone https://github.com/apache/flink.git
$ cd flink
$ mvn clean package -DskipTests # this will take up to 10 minutes
$ cd build-target               # this is where Flink is installed to
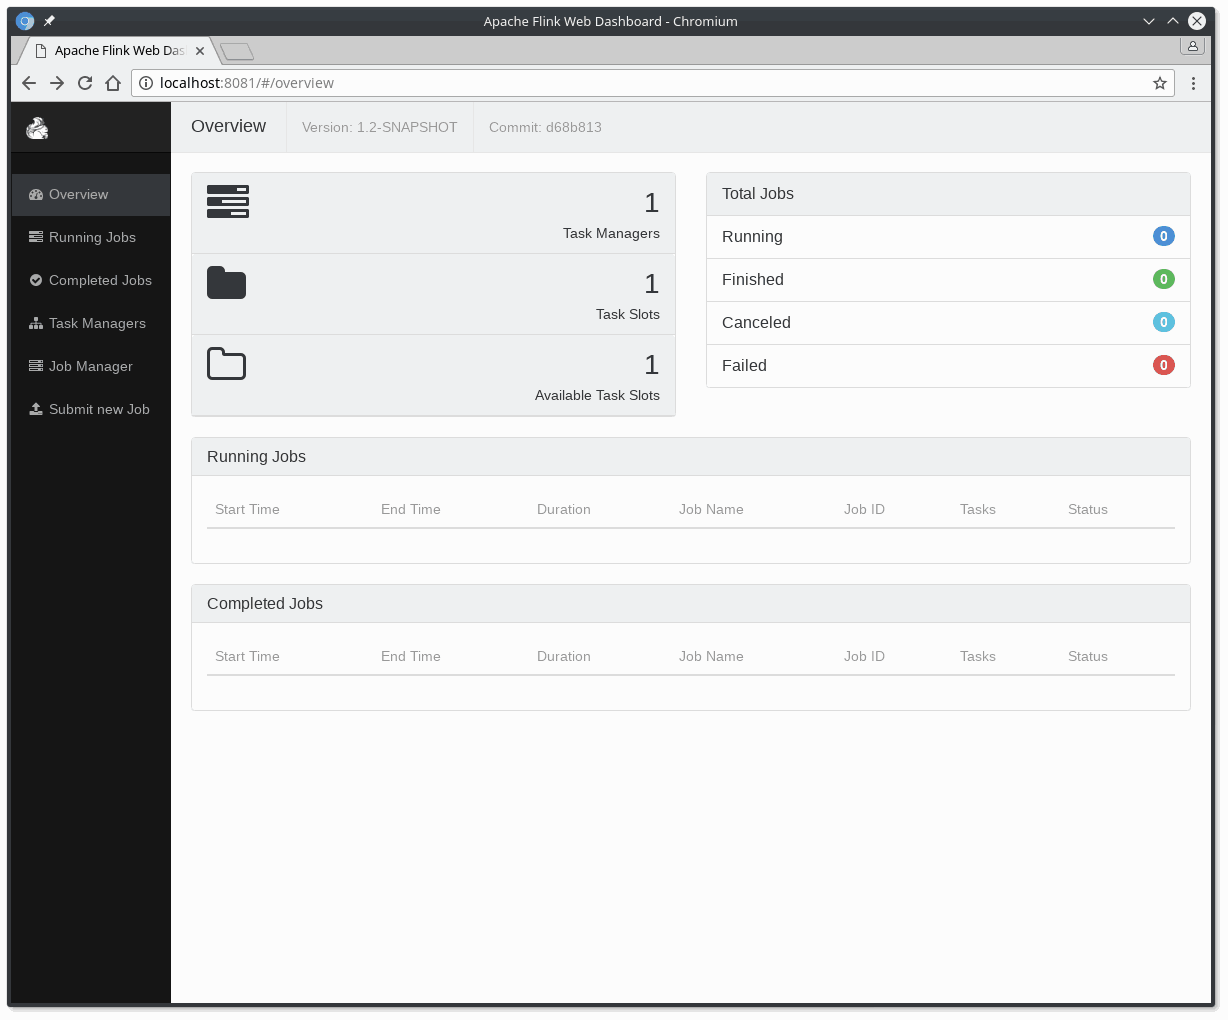
$ tail log/flink-*-standalonesession-*.log
INFO ... - Rest endpoint listening at localhost:8081
INFO ... - http://localhost:8081 was granted leadership ...
INFO ... - Web frontend listening at http://localhost:8081.
INFO ... - Starting RPC endpoint for StandaloneResourceManager at akka://flink/user/resourcemanager .
INFO ... - Starting RPC endpoint for StandaloneDispatcher at akka://flink/user/dispatcher .
INFO ... - ResourceManager akka.tcp://[[email protected]](/cdn-cgi/l/email-protection):6123/user/resourcemanager was granted leadership ...
INFO ... - Starting the SlotManager.
INFO ... - Dispatcher akka.tcp://[[email protected]](/cdn-cgi/l/email-protection):6123/user/dispatcher was granted leadership ...
INFO ... - Recovering all persisted jobs.
INFO ... - Registering TaskManager ... under ... at the SlotManager.
// the port to connect to val port: Int = try { ParameterTool.fromArgs(args).getInt("port") } catch { case e: Exception => { System.err.println("No port specified. Please run 'SocketWindowWordCount --port <port>'") return } }
// get the execution environment val env: StreamExecutionEnvironment = StreamExecutionEnvironment.getExecutionEnvironment
// get input data by connecting to the socket val text = env.socketTextStream("localhost", port, '\n')
// parse the data, group it, window it, and aggregate the counts val windowCounts = text .flatMap { w => w.split("\\s") } .map { w => WordWithCount(w, 1) } .keyBy("word") .timeWindow(Time.seconds(5), Time.seconds(1)) .sum("count")
// print the results with a single thread, rather than in parallel windowCounts.print().setParallelism(1)
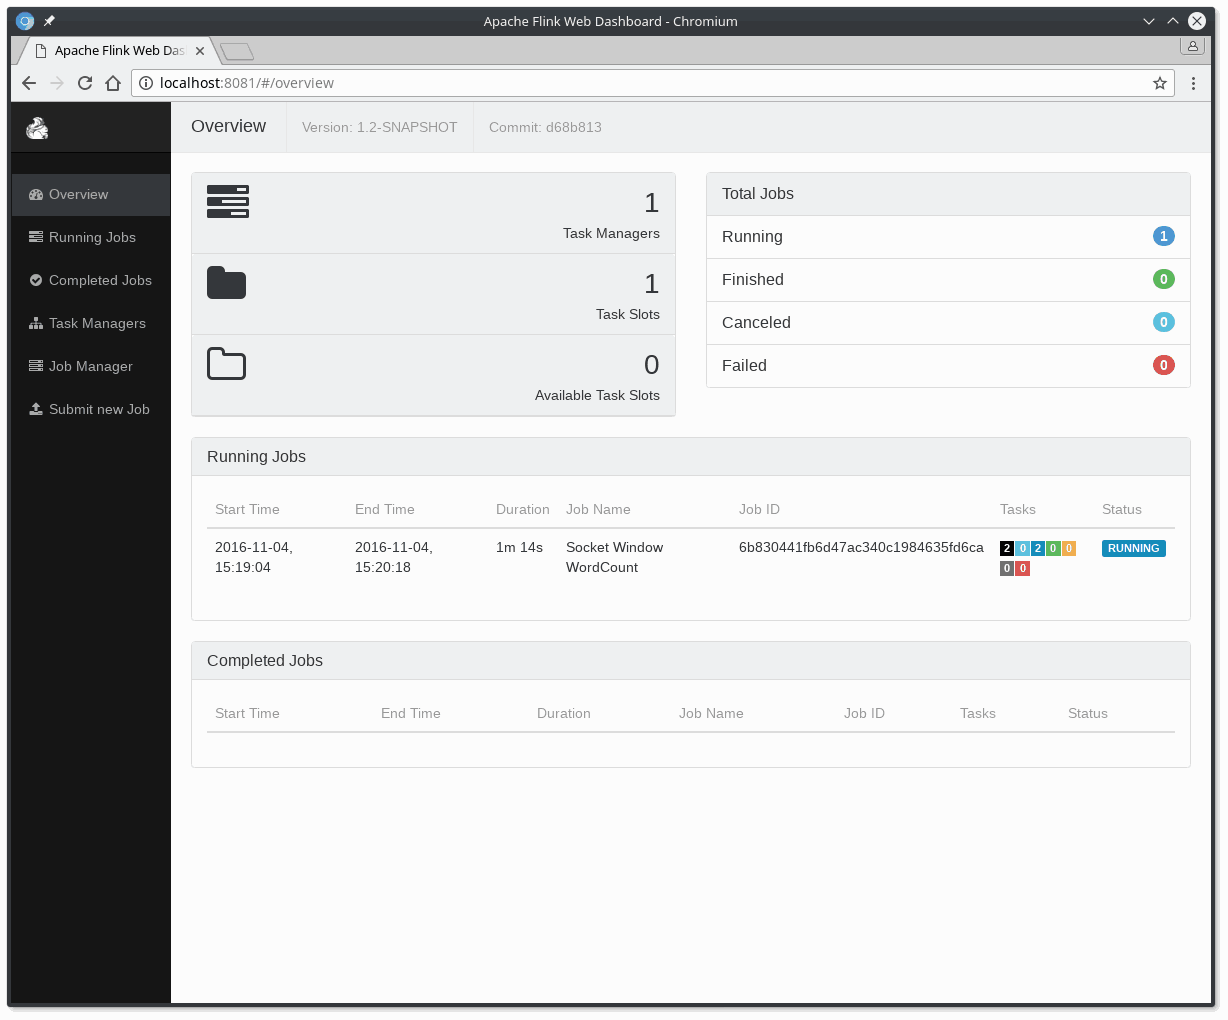
env.execute("Socket Window WordCount") }
// Data type for words with count caseclassWordWithCount(word: String, count: Long) } publicclass SocketWindowWordCount {
// the port to connect to finalint port; try { final ParameterTool params = ParameterTool.fromArgs(args); port = params.getInt("port"); } catch (Exception e) { System.err.println("No port specified. Please run 'SocketWindowWordCount --port <port>'"); return; }
// get the execution environment final StreamExecutionEnvironment env = StreamExecutionEnvironment.getExecutionEnvironment();
// get input data by connecting to the socket DataStream<String> text = env.socketTextStream("localhost", port, "\n");
// parse the data, group it, window it, and aggregate the counts DataStream<WordWithCount> windowCounts = text .flatMap(newFlatMapFunction<String, WordWithCount>() { @Override publicvoidflatMap(String value, Collector<WordWithCount> out) { for (Stringword : value.split("\\s")) { out.collect(newWordWithCount(word, 1L)); } } }) .keyBy("word") .timeWindow(Time.seconds(5), Time.seconds(1)) .reduce(newReduceFunction<WordWithCount>() { @Override public WordWithCount reduce(WordWithCount a, WordWithCount b) { returnnewWordWithCount(a.word, a.count + b.count); } });
// print the results with a single thread, rather than in parallel windowCounts.print().setParallelism(1);
env.execute("Socket Window WordCount"); }
// Data type for words with count publicstaticclassWordWithCount {
publicStringword; publiclong count;
publicWordWithCount(){}
publicWordWithCount(Stringword, long count){ this.word = word; this.count = count; }
$ cd flink $ cd bin $ start-cluster.bat Starting alocal cluster withone JobManager processandone TaskManager process. You can terminate the processes via CTRL-C inthe spawned shell windows. Web interface by default onhttp://localhost:8081/.